
Hostinger Nameservers: How to Point a Domain to Hostinger
Estimated reading time: 4 minutes, 54 secondsLast updated on August 6th, 2026 at 12:01 pm
Configuring the Hostinger Nameservers is the first and foremost step that a user using an existing domain needs to take after going through the reviews of Hostinger and purchasing web hosting services. However, owing to less technical knowledge, newbies are unable to do so.
Are you one of those users looking for a way to configure the Hostinger nameservers? Then clicking your way through pages to finally reach this page was a wise choice on your part. 👍
As you browse further, you will find effortless ways to verify the status of your updated nameservers. Contacting the support team at times when Hostinger nameservers become difficult will be covered further in this article as well. So, let’s start off with a quick brief on what nameservers are and how they work. 👍
What are Hostinger Nameservers, and how do they work?
Hostinger nameservers are a key component of your DNS. Their function is to translate user-friendly domain names into IPs that your clients’ servers can easily use to identify websites and network resources.
For user comfort, we have presented the Hostinger Nameservers provided as follows:
ns1.dns-parking.com
ns2.dns-parking.com
How to find Hostinger Nameservers?
To understand in simpler terms, Hostinger nameservers convert human-friendly domain names into complicated IP addresses. When transferring hosting services from one hosting service provider to another, it’s vital to set the nameservers to make it easier for your clients to find your website.
To find the Hostinger nameservers properly, you must follow the instructions below in order to locate Hostinger nameservers:
Now, what if you already have a domain name? Then what to do in such a situation? You need to first replace your old nameservers with the new ones and then point the same to your existing domain.
Now, to know about it, keep reading further.
How do I point to the Hostinger NameServers in my domain?
It’s crucial to point your new hosting provider’s nameservers to your already existing domain in order to access various files and make the appropriate data configurations in your website. In order to manage your nameservers, the guidelines are given as under:
After the successful pointing of the nameservers of Hostinger to your existing domain name, the DNS Propagation normally takes 24 to 48 hours.
Now, after the nameservers are successfully changed, the next challenge that users face is to track the status of the updated nameservers. Let’s keep browsing further to know the creamy details further.
How do I check and verify my updated NameServers?
The easiest way to track the status of the DNS Propagation is by using a WHOIS checker tool, the most incredible being a dedicated WHOIS checker tool. It functions instantly and is user-friendly too. The tool is used in the following way:
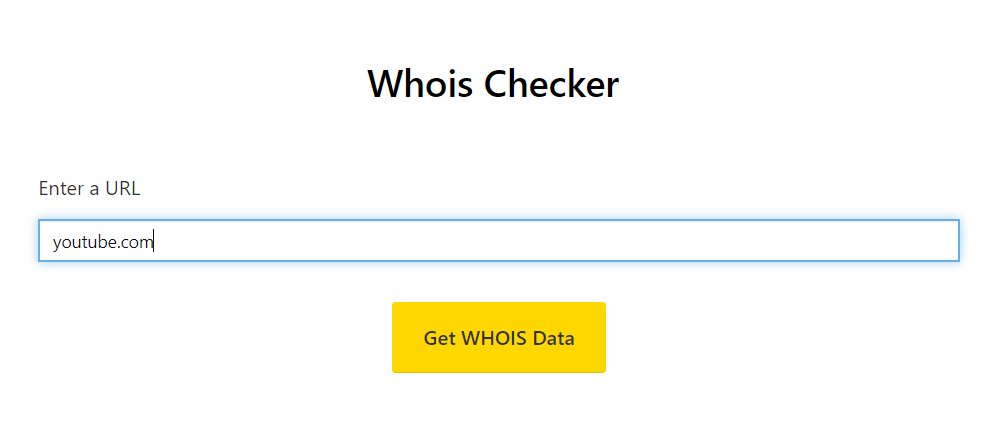
With onlyloudest whois checker tool, you can effortlessly verify the status of your updated nameservers. However, at times, the Hostinger nameservers do not get updated due to some specific reasons even after you make extreme efforts to resolve it. In such a situation, contacting the support team of Hostinger is the best way out to get the issue redressed.
How to contact Hostinger Support if my NameServers Are not working?
Sometimes, owing to particular reasons, it happens that even after giving a lot of effort to configure nameservers, they fail to get updated, or the user finds it difficult to even locate them as well. In such a situation, establishing contact with the support team of Hostinger remains the best option at stake.
So, to contact the support team of Hostinger, one can easily approach them via:
Hostinger does not provide Phone support to users. So, contacting the support team of Hostinger via the above-mentioned channel is the best way available so far.
FAQ
How do I change my DNS without affecting my email?
You need to follow some steps to transfer your DNS with an outing affecting your email.rn First, you must visit the transfer section on the host website and enter your domain name with the authorization code. Then click on the checkout or complete button once done.rn Then edit the Hostinger DNS records by clicking the arrow near the edit button. You must resolve DNS for your old name servers and the new ones. Now update the nameservers at your old registrar.rn Then click the transfer approval link you have received.
How long does it take for nameservers to update?
When you update the nameservers for a domain, it may take up to 24-48 hours for the change to take effect. This period is called DNS propagation.
How do I verify DNS records?
Conclusion
By now, you have not only learnt how to locate the Hostinger nameservers via your hosting account but also learnt how to point your domain to the Hostinger nameservers. You have also acquainted yourself well with the usage of the Whois checker tool provided by onlyloudest for free to check the status of DNS Propagation.
You also learnt to contact the support team of Hostinger at times when you face terrible nameserver issues.
Lastly, we would ask you to follow the given steps cohesively, and if you have issues, you can refer to the images that are provided below each step to help you navigate through the pages well.
We would be extremely grateful if you could post your valuable insights to help us improve more and bring more Tech-Guide articles like this one.
📌 Related: Hostinger Support
📌 Related: Order Hosting From Hostinger
