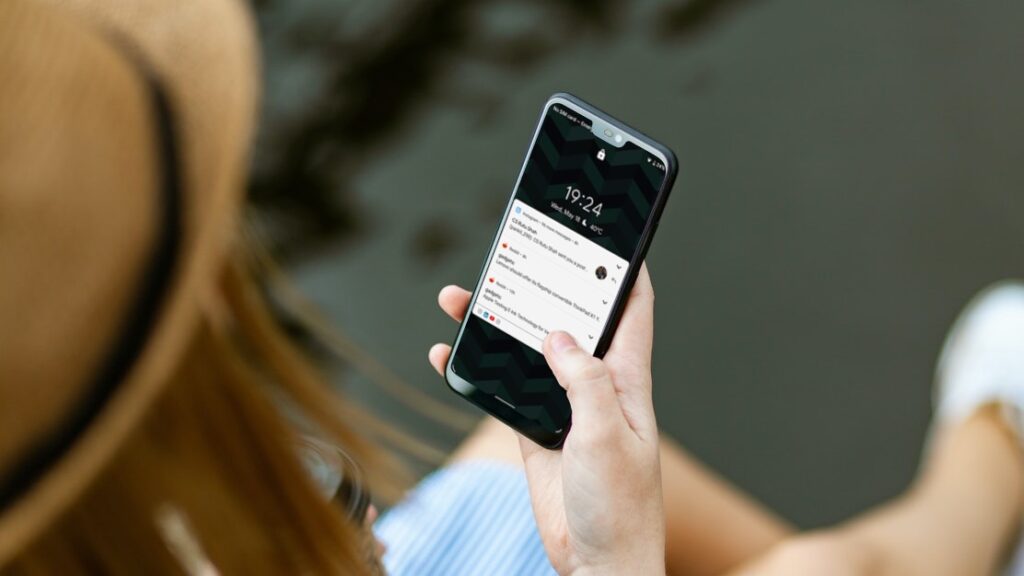
How to Hide Lock Screen Notifications on Android
Estimated reading time: 2 minutes, 16 seconds
Lock screen notifications on Android can be a convenient feature, providing quick access to information without having to unlock your device. However, there are times when you may want to keep your notifications private, especially if you value your privacy or share your device with others. In this step-by-step guide, we’ll show you how to hide lock screen notifications on Android, ensuring your personal information remains confidential.
A Step-by-Step Guide
Step 1: Access Your Android Settings

To begin, unlock your Android device and access the settings. You can do this by swiping down from the top of your screen and tapping the gear-shaped icon in the top-right corner, or by finding the “Settings” app in your app drawer.
Step 2: Navigate to “Apps & Notifications”

In the settings menu, scroll down and look for the “Apps & Notifications” option. It may also be labeled as “Apps” or “Apps & Notifications” depending on your Android version. Tap on it to proceed.
Step 3: Select “Notifications”

Within the “Apps & Notifications” section, locate and tap on the “Notifications” option. This is where you can manage how notifications appear on your device.
Step 4: Choose “Lock Screen”
In the “Notifications” menu, you’ll find various notification settings. Look for the “Lock Screen” option, and tap on it to access the lock screen notification settings.

Step 5: Configure Lock Screen Notifications
Now, you can control how notifications appear on your lock screen. There are typically three options:
- “Show All Notification Content”: This option displays full notification content on the lock screen.
- “Show Sensitive Content Only When Unlocked”: With this setting, you can hide sensitive content and only show it when your device is unlocked.
- “Don’t Show Notifications at All”: Choosing this option will hide all notifications on the lock screen.
Select the option that best suits your privacy needs. If you want to completely hide lock screen notifications, choose “Don’t Show Notifications at All.”
Step 6: Confirm Your Choice
After selecting your desired lock screen notification setting, your choice will be saved automatically. You can now exit the settings menu.
Step 7: Test Your Lock Screen Notifications
To make sure your selected settings are applied, ask a friend to send you a test notification or use a different device to send one to yourself. Your lock screen should now reflect your chosen privacy settings.
Conclusion
Hiding lock screen notifications on Android is a straightforward process that can help you protect your privacy and keep your personal information safe from prying eyes. Whether you opt to show sensitive content only when the device is unlocked or completely hide notifications, you have control over how your Android device handles lock screen notifications. Follow this step-by-step guide to customize your settings and enjoy a more private and secure smartphone experience.
