Are you very much new to this blogging world?
If yes, then you might be looking for a tutorial by which you can set up your WordPress blog perfectly. Right?
So as you are expecting from me, I will definitely guide you step by step so that you can complete your task properly.
You may know that WordPress is the most lovable blogging platform among bloggers and it powers 22% of the websites in the world. People love to use WordPress because WordPress is so much easy to use and effective.

As you are new to this blogging world then firstly you must need to install WordPress on your hosting account.
If you have purchased hosting from HostGator then you may know that HostGator offers a quick script to install WordPress. If you don’t know then don’t worry I will explain to you all the things step by step.
If you haven’t purchased a hosting account from HostGator then Go ahead and purchase a baby plan for you by using our HostGator Coupon Code.
Must Read:
- HostGator Coupon Code – MAX Genuine Discount
- About HostGator Baby Plan
- HostGator Review: Why to Choose HostGator Hosting
Ok, let me explain the tutorial step by step to you.
Table of content
How to Setup / Install WordPress on HostGator Cpanel?
If you have HostGator’s hosting account then you may also have access to your control panel in which you will find an option that is QuickInstall. By using this option, we can easily install WordPress and you will get your WordPress blog ready within 5 minutes.
HostGator offers various methods to Install WordPress on their servers like Manual and QuickInstall. As you are new so we will guide you by using the simplest method so that you can learn something new easily.
Kindly follow the steps which I will explain to you here.
1. Log in to your Cpanel provided by Hostgator.
2. After logged In to Cpanel, You will see an option ” QuickInstall ” under the Software/Services section, click on it.

3. On QuickInstall Page, You need to select ” WordPress ” under the Popular Install section and after that, Click on the ” Install WordPress ” button as shown in the below image.

4. When you will click on Install WordPress then a form will appear as showing in the below image. Simply fill that form.

5. In this form, you will see a drop-down as highlighted in the above image. Select your domain name from the drop-down. Fill in other details like Admin Email, Blog Title, Admin User, First Name, Last name.
You can leave the field empty after the dropdown. Place your email address in the ” Admin Email ” field then Place your blog title, Your username in the ” Admin User ” field and then place your First name and then the last name.
6. After filling in all the above details, click on the green ” Install WordPress ” button as showing in the above image.
7. After doing this, Your WordPress will be installed and your blog will be ready to run.
After installing WordPress, You can log in to your WordPress admin panel by going to ” yourdomain.com/wp-admin ” ( must replace yourdomain.com with your actual domain name ).
Then you need to place your Username and Password in order to enter your WordPress admin panel. Make sure you add your email address while Installing WordPress so that you can get information about your WordPress Installation like your Username and Password etc.
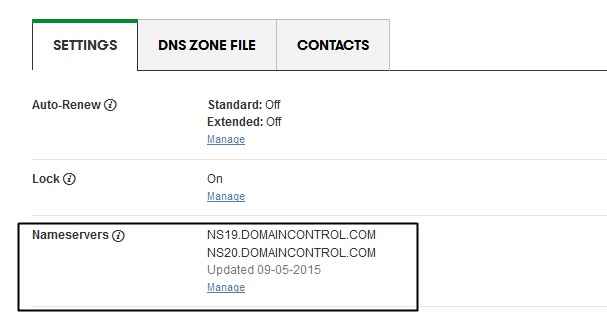
Also Read:- How to Point Godaddy Domain Name Servers to Hostgator
FINAL TOUCH
Now, this was the complete tutorial on ” How to Setup / Install WordPress on HostGator Cpanel “. In order to install WordPress properly, must follow all the steps correctly. And if you still haven’t bought the Hostgator hosting, then get it via the HostGator black friday offers by clicking here. If you will face any problem while installing your WordPress then feel free to leave your comment below. We will love to help you at any time.
